Tuesday, March 29, 2011

Repurposed Desk into Foyer Catchall


This was one of those items I spotted at a yard sale and thought...
"How can I re-purpose that?"

Ah-ha! Got it!

Here are some before pics...


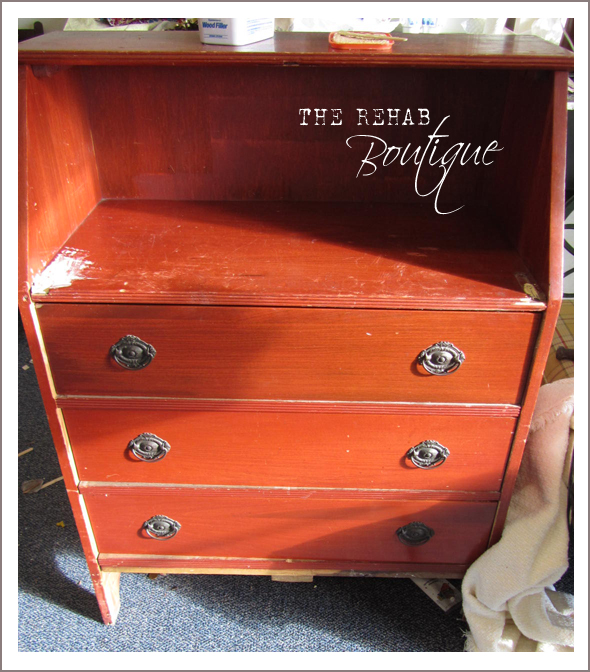
As you can see it used to be a secretary desk, but the piece 
that you would fold down and sit at was no longer there!


So I filled where the hinges used to be, with wood filler and sanded.


The molding at the bottom was missing too! 
But I do love the hardware!!

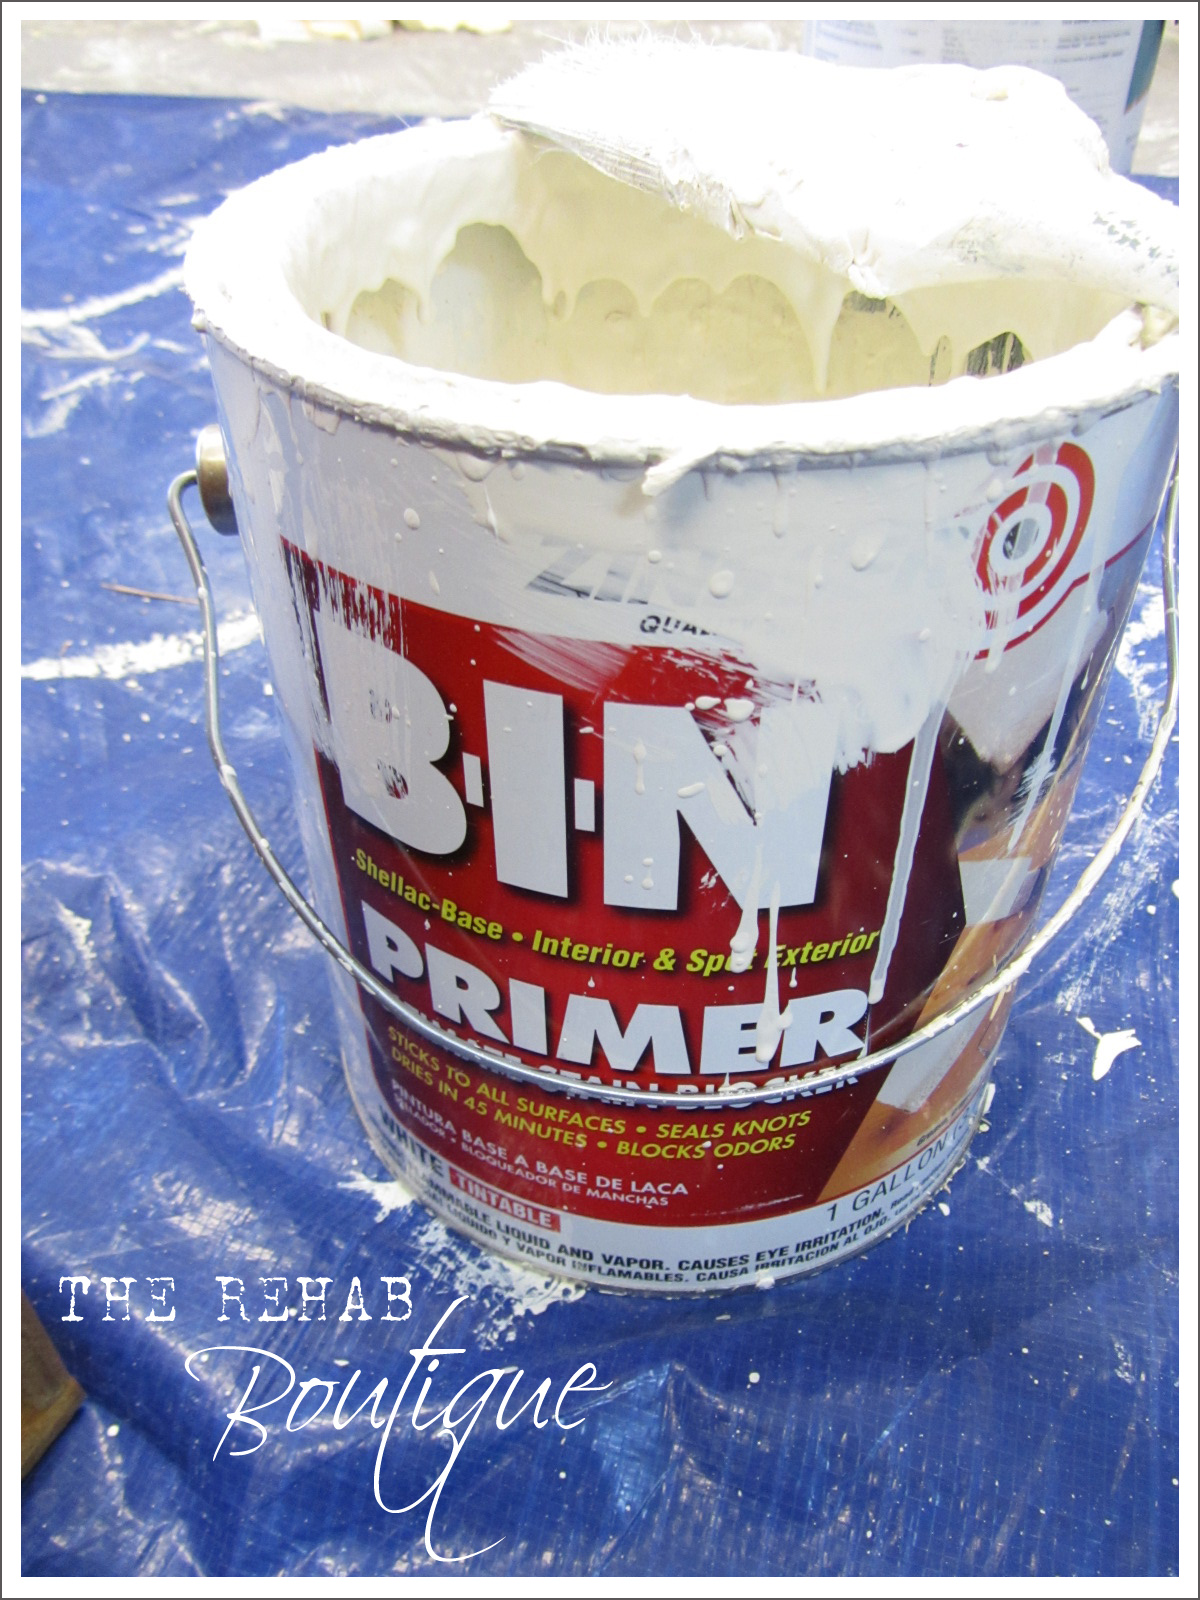
After the wood filler was dry and sanded 
I primed, painted, added new molding and distressed.


I added two baskets that fit nicely inside the open area, they match the hardware too!
You can use these baskets for sorting mail, hats and gloves... you name it!


I really should have taken more during pics, but as usual...
...I got caught up in the process of making sh*t shine : )


Tuesday, March 22, 2011

Chair Rehab & Accessories

Meet Camelia!


Here she was in her "before" state, 
but as you can see she has a lot of potential!


First, she was primed (with Zinsser Bin), then a new coat of paint.


I also added a piece of anaglypta to the center back for a little interest.


Time to distress! 
I use an orbital sander on the edges.


You can see the layers of paint, which I love.

After all the distressing is done, I go over all the edges with Howard's Beeswax.
It nourishes the raw wood and brings out the grain giving it a more finished look.


I added foam and batting to the seat and 
covered it with this pretty Laura Ashley fabric.


I also made a pillow to match...


...and a table runner with a ruffle, I love ruffles...ahh!


The perfect accent piece!


Monday, March 14, 2011

Now a Happy Hope Chest!


This hope chest was brought in by one of our customers to get a "makeover".


Here's the before, don't you just love the hardware? 
(Being sarcastic, of course!)


And this fabric?
These are all things she wanted changed, along with a new paint job!


I started by taking off all the old hardware and removing the top.
I filled the double holes where the hardware was and drilled a new single one.
Then I primed.


She wanted the chest painted in our pretty light aqua blue, then distressed. 
We added crystal knobs for an updated shabby chic look.


I recovered the top in a light colored canvas, keeping it simple so her room
wasn't too busy. I also made her some accent pillows (which I neglected to take a pic of) using the same canvas and some vintage material that she has on a chair in her room.

Friday, March 4, 2011

Putting the pieces back together!

This little bureau was rescued from a yard sale, 
it needed lots of love and I was the one willing to give it!


Here is the before pic, it was in pieces! The top was detached
and in two pieces and the door was off, not to mention it was filthy!


I should have taken more pics of the putting back together process,
but I didn't!  I re-attached the top with finish nails, counter sunk them and filled with
wood filler, then sanded. Now it needed a coat of primer. I always use Zinser's Bin
with shellac, it even works on shiny surfaces, so there's no need to sand!


I painted it parchment white and distressed using an orbital sander.


I sprayed all the hardware black, they really pop against the off-white.


Re-attached the door and added a new knob.


All done!! What a difference! I also lined all the drawers
with wallpaper used from discontinued wallpaper books.
You can ask your local wallpaper store to call you when
they have some discontinued books, that's what we did.


She's already in her new home!

Attending these Linky Parties:


Show & Tell Friday 
Furniture Friday 
Hodgepodge Friday
Metamorphosis Monday
Show & Tell Wednesdays 
 

LinkWithin

Related Posts with Thumbnails